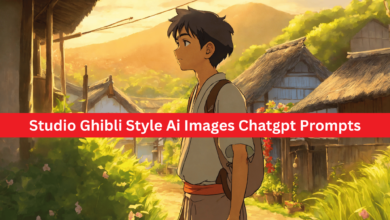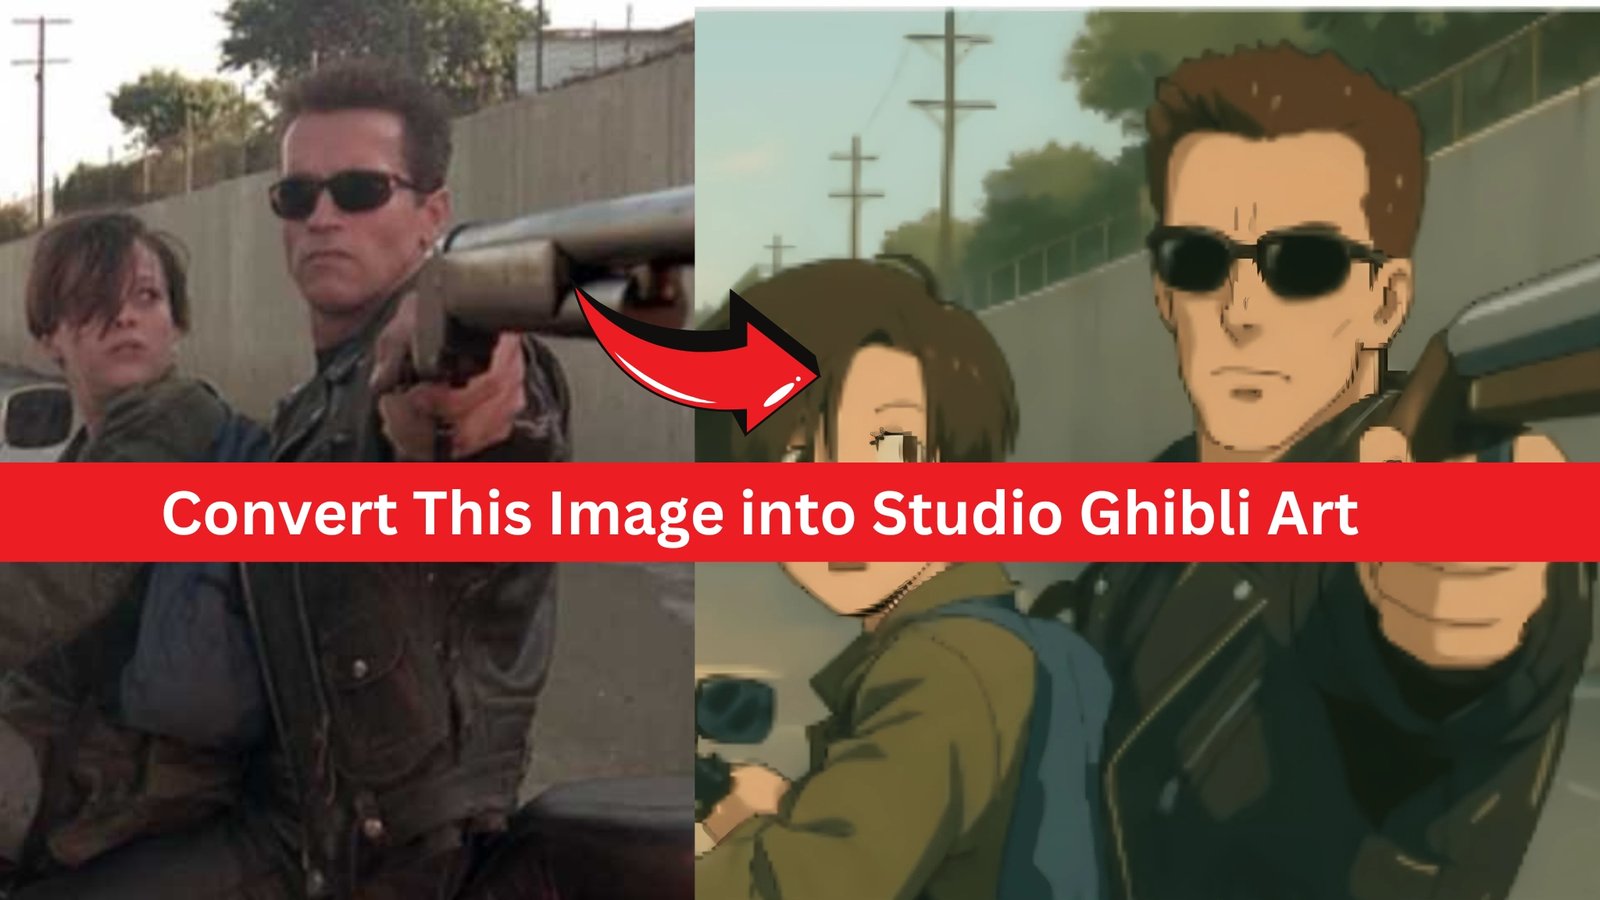
Studio Ghibli movies like My Neighbor Totoro and Spirited Away are loved for their dreamy, magical art style. If you’ve ever wanted to turn your photos or drawings into Studio Ghibli art, this guide is for you! Below, we’ll break down the process into simple steps. Let’s learn how to convert this image into Studio Ghibli art with ease.
Step 1: Pick the Right Image
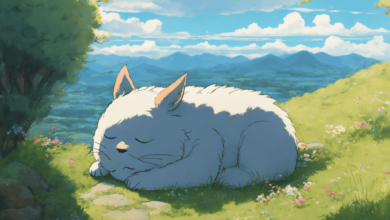
Start with an image that has a simple background and a clear subject. Studio Ghibli art often features nature—think forests, fields, or cozy villages. Avoid busy or cluttered photos. A picture of a person standing in a garden or a quiet landscape works best.
Step 2: Study Studio Ghibli’s Style
Notice what makes Ghibli art unique:
- Soft, muted colors (no neon shades!).
- Whimsical details like fluffy clouds, glowing lights, or tiny creatures.
- Expressive characters with simple, round faces.
Watch clips from Ghibli films to spot these elements.
Step 3: Sketch a Simple Outline
Trace or redraw your image with smooth, clean lines. Ghibli art uses gentle curves, not sharp edges. If you’re working digitally, use a thin brush for outlines. Keep faces round and eyes big for that classic Ghibli look.
Step 4: Add Ghibli-Style Colors
Replace bold colors with soft, pastel shades. For example:
- Turn bright green grass into mint or sage.
- Make skies light blue with hints of lavender.
Use watercolor-like textures for a hand-painted feel. Digital tools like Procreate or Photoshop have brushes that mimic this effect.
Step 5: Include Magical Elements
This is where the fun begins! Add tiny details to convert your image into Studio Ghibli art:
- Draw glowing “spirit” balls or dust particles (like in Spirited Away).
- Place friendly creatures (think soot sprites or a hidden Totoro) in the background.
- Add floating leaves, flowers, or lanterns for movement.
Step 6: Focus on Nature and Lighting
Ghibli art celebrates nature. Add layers to your image:
- Paint detailed trees, bushes, or waterfalls.
- Use soft shadows and warm light to create a cozy mood.
- Add sunlight rays or soft glows to make the scene feel magical.
Step 7: Final Touches
Zoom out and check if your image feels balanced. Adjust colors to keep them soft and harmonious. Add a slight blur to the background to make the main subject stand out—just like in Ghibli movies!
Tips for Success
- Less is more: Don’t overcrowd the image.
- Practice textures: Use cross-hatching or speckled brushes for grass, wood, or clouds.
- Get inspired: Screenshot your favorite Ghibli scenes and copy their color schemes.
Conclusion
Learning to convert this image into Studio Ghibli art takes practice, but anyone can do it! Start with simple edits, experiment with colors and details, and let your creativity flow. Remember, Studio Ghibli’s magic lies in its warmth and simplicity—so don’t overthink it. Happy drawing!